 Emi Sato
A good oyakodon recipe is not about dumping chicken and egg into a pan and hoping for the best. I’ve cooked this oyakodon recipe more than 40 times in my tiny kitchen, once burning the dashi so badly my smoke alarm went off. The turning point came after watching a 78-year-old cook at a 9-seat counter in Osaka’s Tenma district. She never stirred the egg more than three times. That detail alone changed my bowl forever.
What’s Inside This Bowl
What Is an Oyakodon Recipe, Really?
Oyakodon literally means “parent and child bowl” (oyako = parent-child, don = bowl). It is a Japanese rice bowl where chicken (the parent) and egg (the child) simmer in a sweet-savory dashi sauce and get poured over hot rice. Simple.
But here is the part most recipes skip. The dish is defined by steam and timing, not by ingredients. The egg does not cook by direct heat. It cooks from the steam of the simmering dashi below. That’s why the same ingredients can give you a silky, custardy top or a rubbery omelet. I learned this the hard way at a cooking class in Kyoto where the instructor held the lid over my pan for exactly 50 seconds. She didn’t speak English. She just pointed at the clock. My egg has never been rubbery since.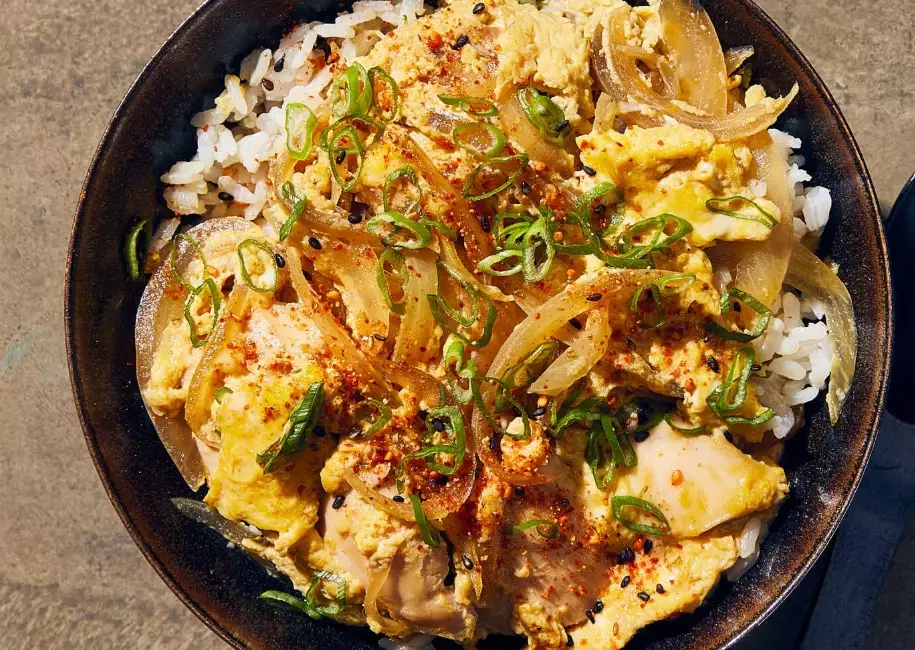
The 5-Ingredient Oyakodon Recipe I Actually Use
I keep this list short on purpose. Too many ingredients and the chicken flavor disappears.
- Chicken thigh — 150g per person, cut into 2cm chunks. Thigh, not breast. Breast dries out fast in the simmering liquid. If you only have breast, slice it thin and add it 1 minute later than thigh.
- Eggs — 2 large eggs per bowl. Beat them with a chopstick using cutting motions, not a whisk. You want streaks of yolk and white, not a uniform yellow liquid. Those streaks create the layered texture.
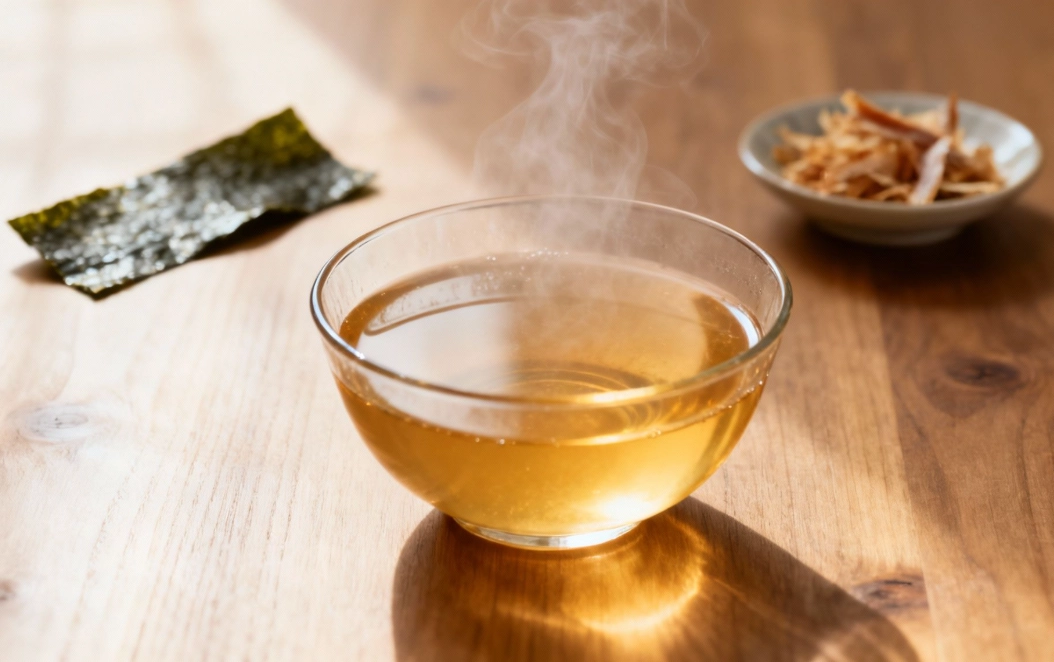
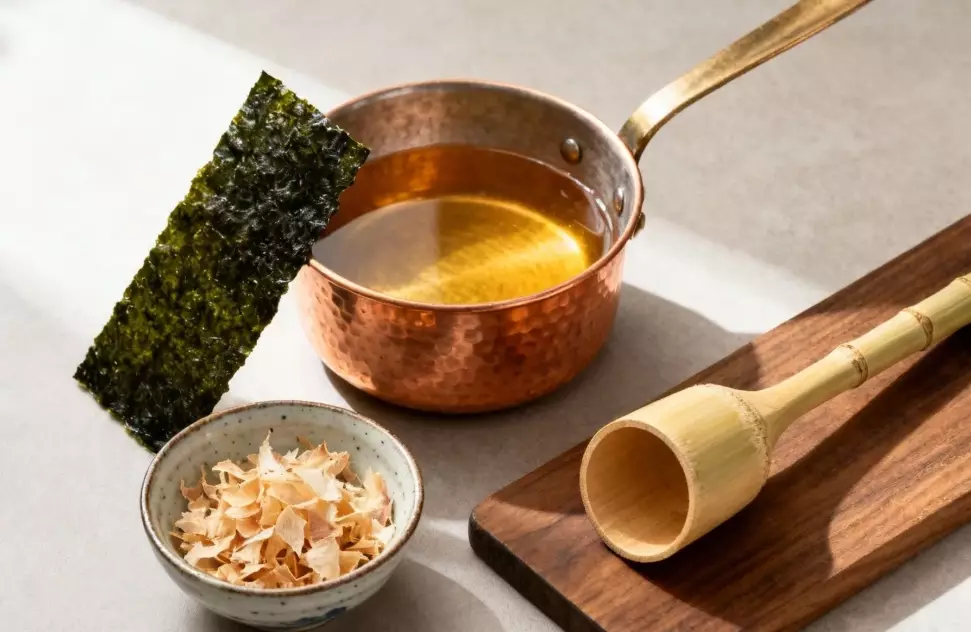
- Dashi stock — 80ml per bowl. I use a 1:10 ratio of kombu-katsuobushi dashi. Store-bought dashi packs are fine. Just check the sodium content.
- Seasoning — 1 tbsp mirin, 1 tbsp soy sauce, 1/2 tsp sugar per bowl. That’s the baseline. More on ratios below.
- Onion — 1/4 medium onion, sliced thin. The onion releases water, so do not add extra liquid.
For the rice: 1 cup cooked short-grain rice per person. Day-old rice works better than fresh because it absorbs the sauce without turning to mush. Warm it in the microwave for 40 seconds before topping.
How to Cook Oyakodon Without a Watery Bottom
Watery oyakodon almost always comes from two things: wet chicken or too much sauce. Here is the exact sequence I use.
Step 1: Dry the chicken
Pat the chicken chunks with a paper towel. Moisture on the surface will dilute the sauce and make the egg slide off. This one step took me from “soup bowl” to “donburi” results.
Step 2: Build the sauce in a small pan
Use a 16cm or 18cm pan. Anything wider spreads the liquid too thin and the egg overcooks. Combine dashi, mirin, soy sauce, and sugar. Bring to a boil over medium heat.
Step 3: Cook chicken and onion for 3 minutes
Add onion first. Let it soften for 1 minute. Add chicken and cook until the outside turns white, about 2 to 3 minutes. Do not brown the chicken. Browning changes the flavor profile and makes the sauce taste heavier.
Step 4: Pour egg in a circular motion
Slowly pour the beaten egg over the chicken in a spiral, starting from the center. Do not stir. Close the lid and set a timer for 50 seconds. At 50 seconds, the egg should be just set on the edges and slightly runny in the middle. Open the lid and slide the whole thing onto rice immediately. The residual heat finishes cooking the egg.
Sauce Ratio Table: Sweet, Salty, and Balanced
I tested five ratios over two weeks. Here is what actually tasted like the bowls I ate in Tokyo and Osaka, not the overly sweet versions you often see online.
| Ratio (Dashi : Soy : Mirin : Sugar) | Taste Profile | When to Use |
|---|---|---|
| 8 : 1 : 1 : 0.5 | Balanced, slight sweetness | My default for chicken thigh |
| 8 : 1.2 : 0.8 : 0.3 | Saltier, umami-forward | Good with duck or richer meat |
| 8 : 0.8 : 1.2 : 0.8 | Sweet, kid-friendly | What my niece asks for every visit |
| 10 : 1 : 1 : 0.5 | Lighter, broth-like | Summer version, served with cold rice |
| 8 : 1 : 1 : 1 | Too sweet for me | Popular in some chain restaurants |
The ratios are in tablespoons for a single serving. Multiply by the number of bowls. Use a measuring spoon. Eyeballing soy sauce is the fastest way to an overly salty bowl.
3 Oyakodon Recipe Variations That Work
These are not gimmicks. Each one solves a specific problem.
1. Mitsuba and yuzu version
Add 3 mitsuba leaves on top before covering the pan. Finish with a tiny piece of yuzu peel (about the size of a postage stamp). Mitsuba is available at Japanese grocery stores like Nijiya or Mitsuwa. If you can’t find it, flat-leaf parsley is a weak substitute. Better to skip it. The yuzu cuts through the sweetness in a way lemon cannot.
2. Extra-custardy egg version
Use 3 eggs per bowl and add 1 tablespoon of dashi to the beaten egg before pouring. The extra liquid keeps the egg soft. Cook for 45 seconds instead of 50. This is the version I make when someone says they don’t like eggs. It changes their mind.
3. Weeknight microwave version
Not as good as the pan version, but it works. Use a deep microwave-safe bowl. Cook chicken, onion, and sauce for 2 minutes at 600W. Pour egg on top and microwave for 40 seconds. Let it sit for 1 minute before topping rice. The egg will be more set than pan-cooked, but it’s fine for a Tuesday night.
Mistakes I See Beginners Make
These are not in most recipes. I’ve watched friends make oyakodon in my kitchen and these three come up every time.
- Stirring the egg after pouring. Every stir breaks the layers. The egg should look like a soft, uneven blanket. If it looks uniform, you’ve stirred too much.
- Using a wide pan. A wide pan makes the sauce evaporate before the chicken cooks through. Then you add more sauce, and the whole thing turns soupy. Use a pan just large enough to hold one serving.
- Adding salt before tasting. Soy sauce and dashi powder both carry salt. Taste the sauce after it comes to a boil. Only then decide if you need a pinch of salt. Most of the time you don’t.
One more thing. Do not use cold rice straight from the fridge. Cold rice does not absorb sauce. It sits in the bowl and turns the bottom into a wet mess. Warm it first. This matters more than the egg timing.
Oyakodon Recipe Questions I Get Asked
My oyakodon sauce tastes flat. What am I missing?
Your dashi is probably too weak or too old. Kombu and katsuobushi lose flavor after a few months in the pantry. Smell your dashi powder or pack before using. It should smell of the sea, not of dust. Also, add the mirin first and let the alcohol cook off for 20 seconds before adding soy sauce. That small step brightens the sauce.
Can I make oyakodon recipe ahead for lunch the next day?
You can, but keep the egg and rice separate. Cook the chicken and sauce, cool it fully in the fridge, then reheat gently and pour fresh egg over it in the morning. Reheating egg in a microwave turns it rubbery. The chicken and sauce actually taste better the next day, so this is a solid meal-prep move.
Why does my egg slide off the chicken?
The chicken was wet or the pan was too cool when you poured the egg. Pat the chicken dry and make sure the sauce is at a full simmer before adding the egg. The egg needs immediate steam to cling to the chicken. A low simmer lets the egg float.
Is there a substitute for mirin in this oyakodon recipe?
Dry sherry plus a pinch of sugar works in a pinch. Use 1 tablespoon sherry and 1/4 teaspoon sugar for every tablespoon of mirin. Rice vinegar is not a good substitute. It makes the sauce sour. Sake with sugar is better than vinegar.
This oyakodon recipe was tested in a home kitchen with a 18cm carbon steel pan, a kitchen scale, and a timer. All timing and ratios reflect repeated trials, not a single attempt.
Reader Comments